Breeding killifish is not too difficult, but different species often require different methods. There are a number of different killifish breeding techniques, both to suit the fish, and the needs of the keeper. Providing enough space, food and clean water for huge numbers of fry can be challenging, and sometimes it is better to raise a few superb fish, rather than a lot of ok ones. This page explains in simple steps how to get your fish spawning, how to collect and store the eggs, and finally how to raise the fry.
When to use this method This is an ideal breeding method for plant spawners. It is great if you are short on tankspace, but is certainly not the most productive. Leaving the fry to fend for themselves produces robust fish, and is the method of choice for a number of quick growing hardy species such as Fundulopanchax nigerianus which can soon fill a 2ft tank if well fed. Another group of killifish that do well in such a set up are the Scriptaphyosemions, which don't seem to be be particularly predatory towards their young.
Tank setup This is best done in a larger tank. It should be full of plants; najas is ideal as it fills the whole tank from top to bottom, giving the most cover. Also Indian fern, java moss, java fern, hornwort and riccia. It is also useful to have a shallow gravel or sand substrate, providing shelter (or at least an easier terrain in which to hide) for the fry, and a ready source of infusorians. Alternately, it can be filled with spawning mops, or a combination of both. The idea is to create unending hiding places and keep fry and larger fish apart from each other.
What next? Fry can be fished out and raised separately to avoid predation both by parents and larger siblings, or left to fend for themselves. Some species will be more affected by predation than others, and in many ways this is good, as it can prevent you being overrun by the more prolific species. Regular feedings of newly hatched artemia (whether you have seen fry or not) massively increases the success of this method.
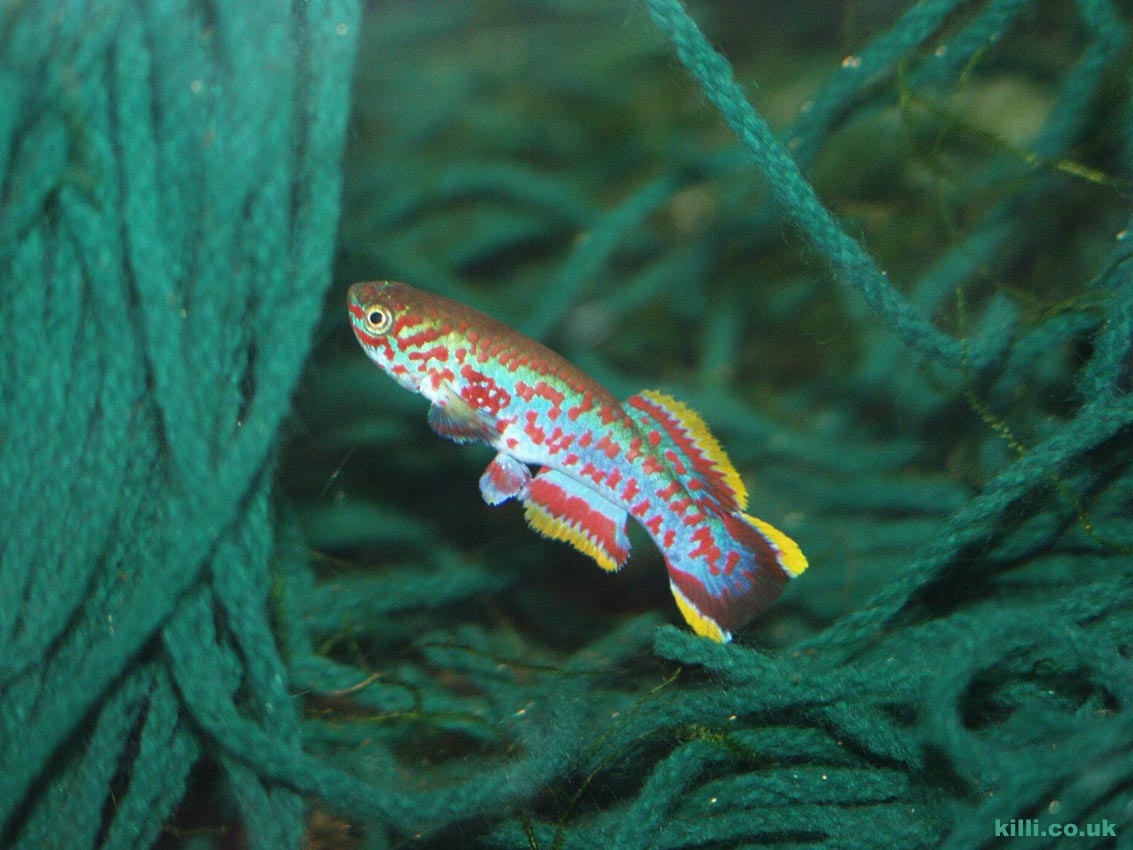
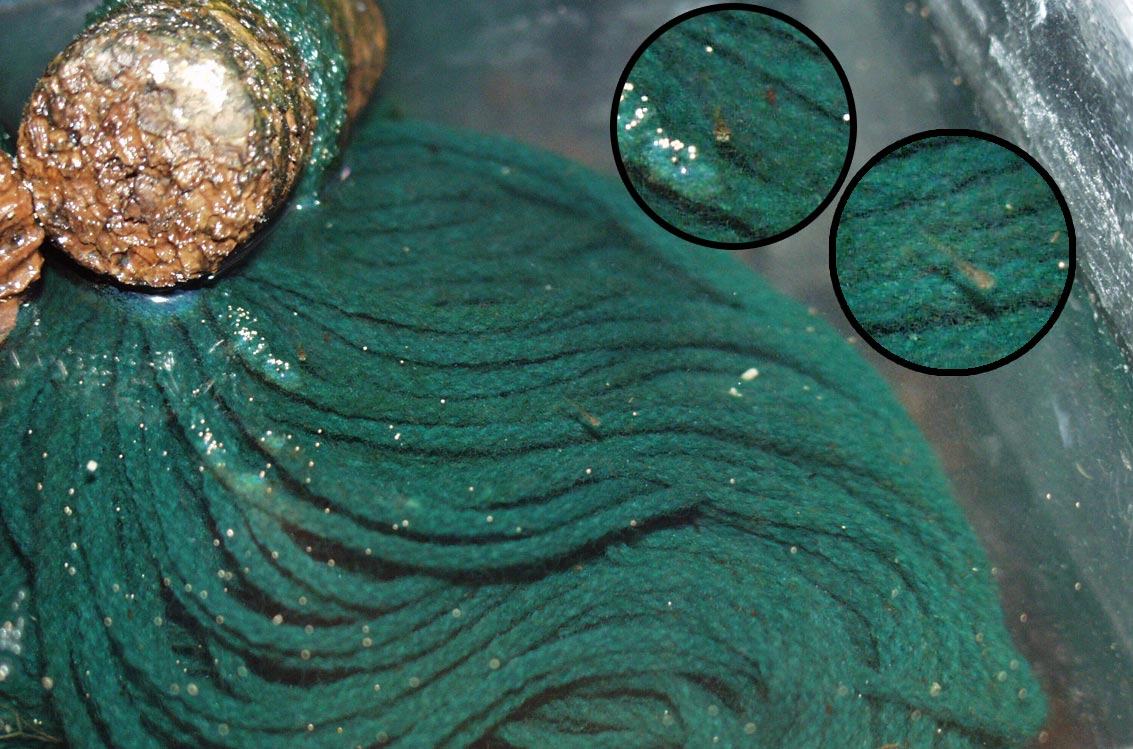
When to use this method If you intend to collect eggs of plant spawning species spawning mops are the ideal solution. Mops are made from strands of synthetic 'wool' fibre (real wool rots) attached to a float (a piece of polystyrene or cork). Fish deposit their eggs on the strands where they can be picked and stored in water or on damp peat, or left to develop on the mop. This really is the method of choice for species that do not lay large numbers of eggs: it allows the keeper to monitor the embryos development and hatch a batch of fry together, at convenient time, reducing cannibalism, and competition for food.
Tank setup The tank should ideally be empty apart from the mops (and any filtration). Any kind of gravel or plants provides extra spawning places that are difficult to collect eggs from and will reduce the number laid on the mops. Feed the parent fish well before introducing them to the mops. Be careful allowing trios into such a set up, as the 'second' femle may follow round the spawning pair, eating the newly laid eggs.
What next? The mops should be removed carefully, and squeezed gently to remove excess water- sometimes there will be a fish hiding in there so be very careful! The eggs can be picked and water incubated (in tank water with a dash of methylene blue) or incubated on damp peat (place a small droplet of water/methylene blue on each egg). Either way, fungused eggs should be removed as soon as possible. It is also possible to move the entire mops to empty tanks or to place the damp mops in a plastic bag to allow them to incubate undisturbed. Some eggs are light sensitive, so this should be born in mind when storing them.
$12
$66
$18
more killifish for sale
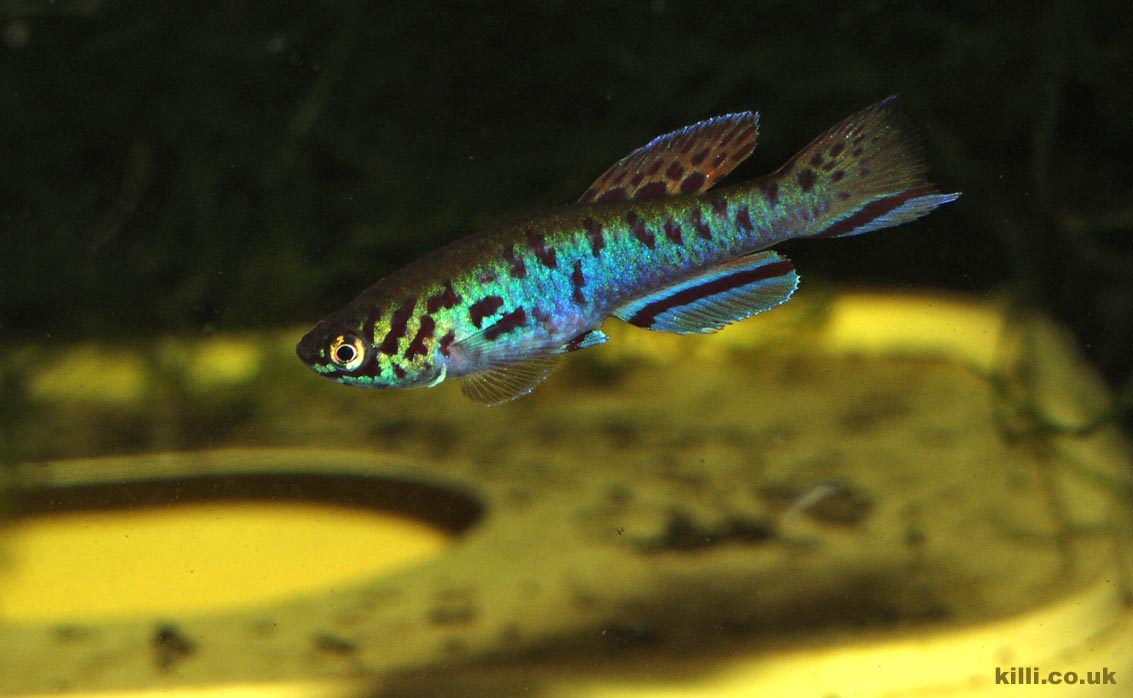
When to use this method A number of species prefer to spawn in some form of substrate such as peat. These are typically annual fish such as Nothobranchius, Austrolebias and Simpsonichthys species.
Click through the step-by-step guide on how to set up a tank for these fish below.
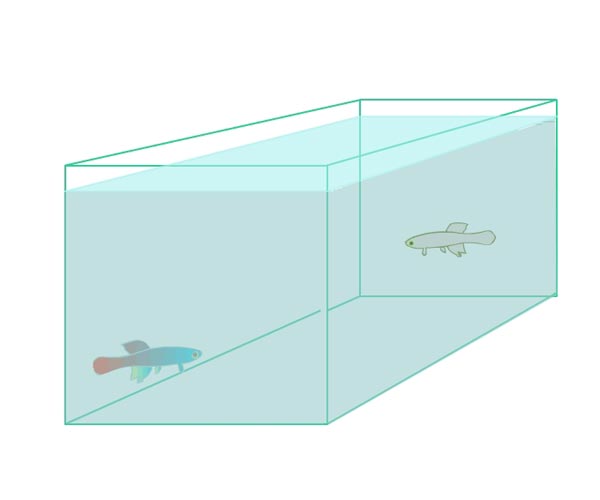
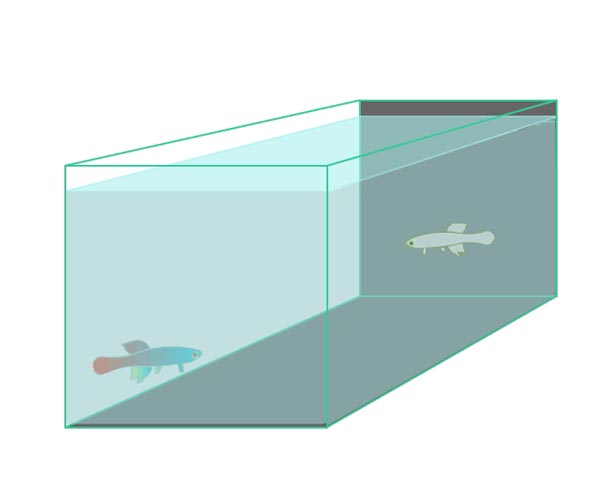
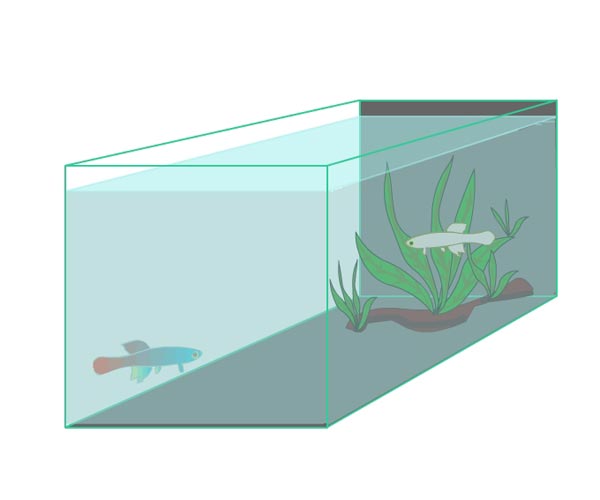
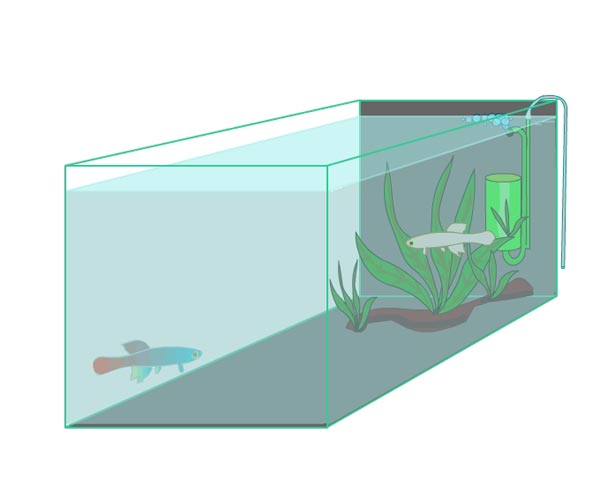
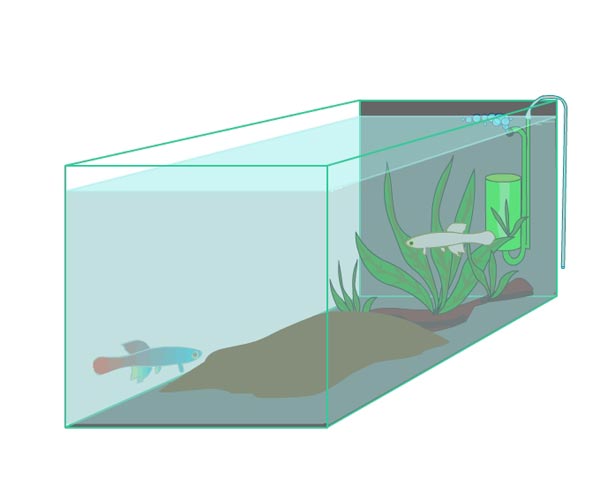
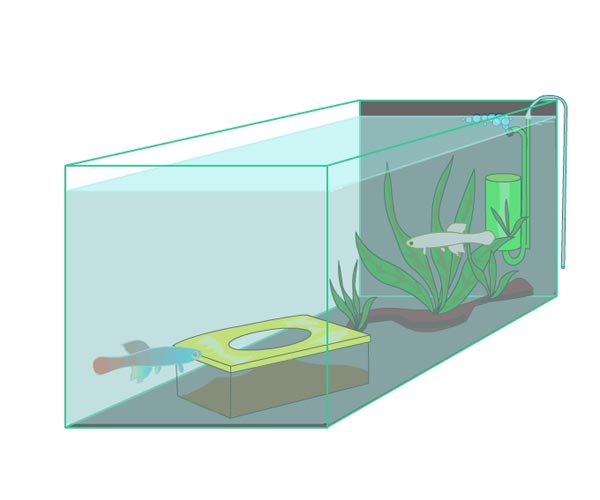
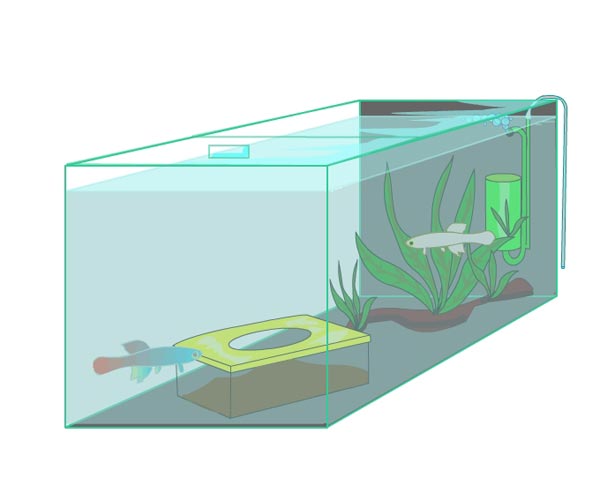
Tank setup The peat can cover the entire tank bottom or be placed in one or more spawning 'tubs'; plastic containers often with a lid with a hole, that the fish will spawn in. Some species (such as Nothobranchius) require only a small amount of peat (in fact they will spawn without it). These are sometimes referred to as ploughers. The purpose of the peat is more to prevent egg predation in these cases. I personally feel that the fish prefer a nice soft spawning media. Some species, however, (such as Pterolebias longipinnis) require their entire body length in depth to spawn, as they prefer to get right into the peat!. It is possible to use other substances to peat, and people have claimed success, however peat has remained a favourite for good reason. Coir; less powdery than peat but dries out more easily. Certainly not recommended for fish species with long incubation times. Silver sand; easy to collect eggs from, though sand may damage some eggs. Ground walnut shell; I have not tried this but it sounds like you'd need to eat a lot of walnuts!
What next? The peat is collected squeezed gently to remove excess water. Some people will store it just like this, and some will dry the peat further on newspaper for between 2 and 24 hours. The peat should be moist but not wet. There are no hard and fast rules here, but dryer peat seems to allow quicker development of eggs. It is perhaps best to find a way of working that suits, and keep an eye on the eggs for development.
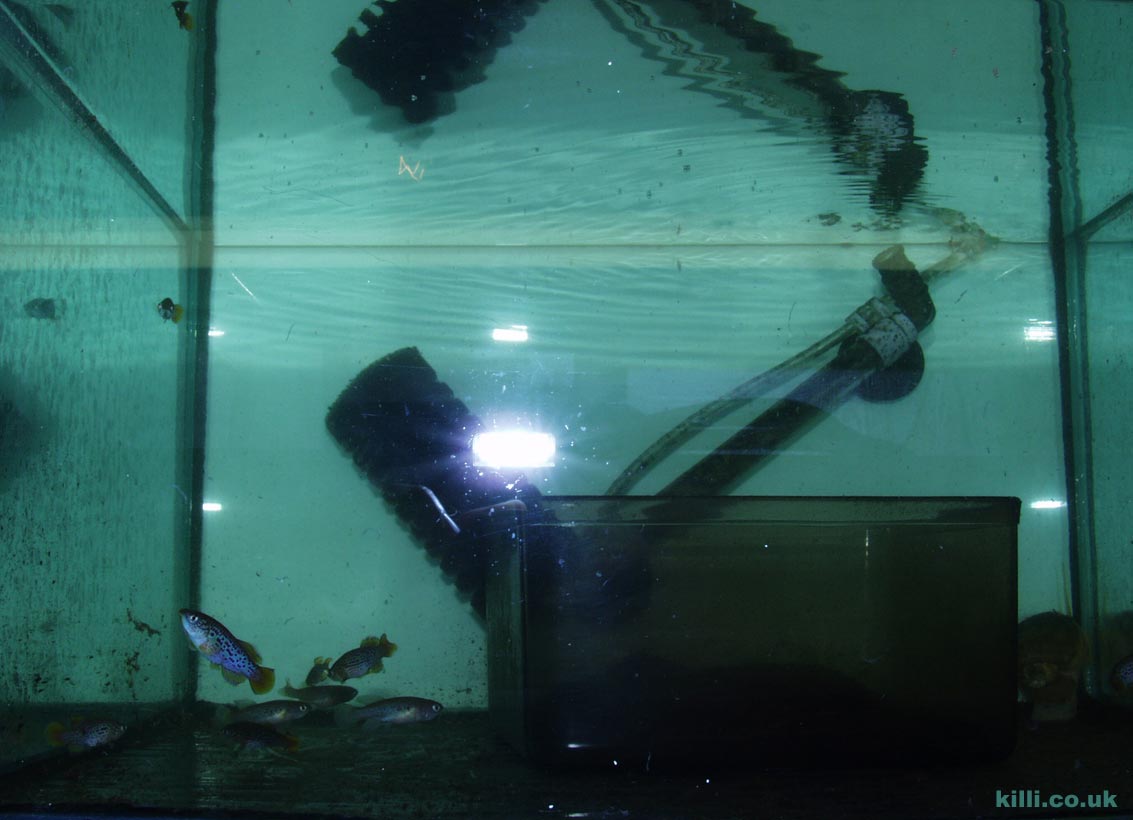
When to use this method This is a good method for prolific spawners that will eat their young. Obviously the eggs will develop in water, and once hatched, the fry will also predate on each other so. There will be fry hatching at different times, so there is potential for variation in size within the tank. This is not as productive a means of fish breeding, as picking eggs, at least in terms of numbers, but it is one of the least time consuming. Cannibalism can be greatly reduced with regular feedings of newly emerged Artemia nauplii, and the surviving fish are typically very healthy individuals.
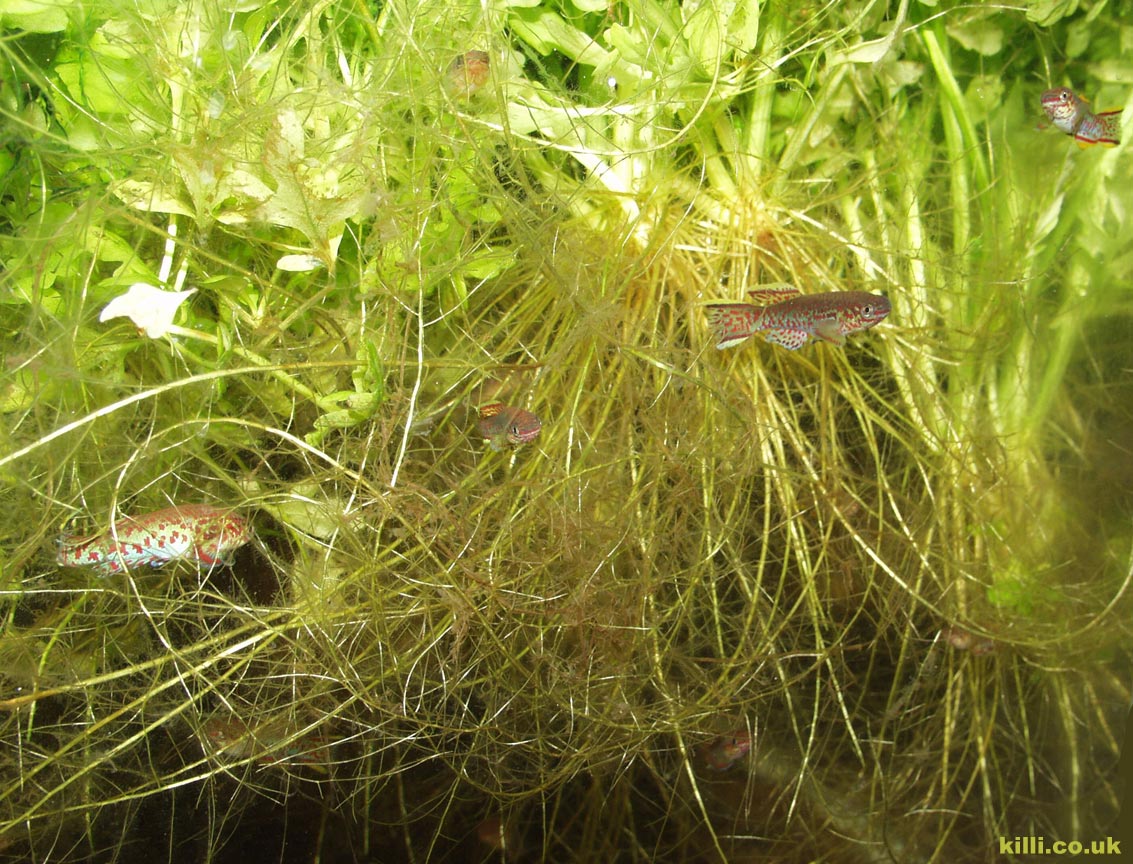
Tank setup This is best done in a larger tank, again it should be full of plants or mops: najas, Indian fern, java moss, java fern, hornwort and riccia. Make sure you don't have snails within the tank, as they may well eat eggs. Feed the adult fish well for a length of time, at least a week, then remove them to another tank. Simple as that. If possible, reduce light levels a little. Start feeding the tank about a week after the adult fish were removed.
What next? Keep an eye out for fry, they should not be too hard to spot, often at the water's surface at first. If any individual outgrows and bothers it's tankmates, consider separating it.
$23
$12
$15
more killifish for sale